Update 5
My 818 is starting to look like a possible moving car! The easy processes are starting to come to an end and the long ones are starting to begin…. I was hoping to have my wiring done by now, but diagrams and cutting wires and all that fun stuff is taking a lot of time :/. But I do have some updates
- Master Cylinders,brake/clutch lines, proportion valve are all installed.
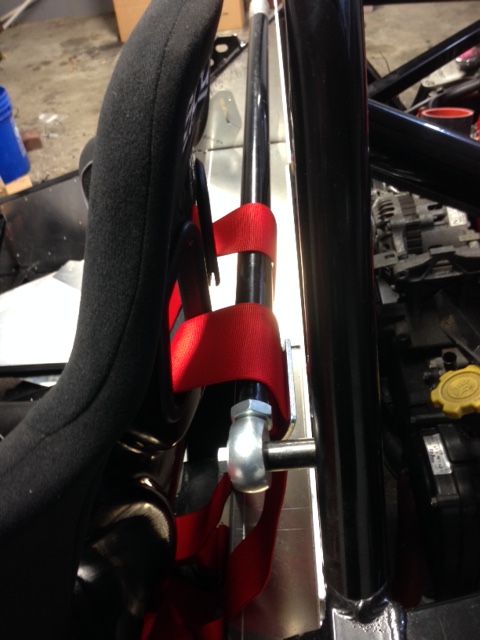
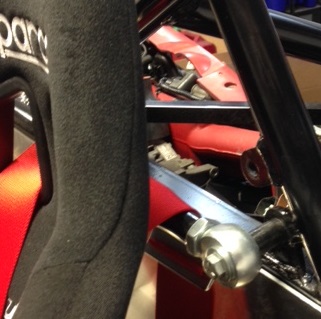
- Hard hydraulic lines were routed similar to the FFR design, some lines did come out different. Primarily the Clutch line to the slave cylinder was routed different. See picture below. FFR way has you running the lines in front of the engine and under the manifold. I would advise against this as it will add extra heat to your fluids and also be in the way if you ever need to work on the engine.
- How I mounted my Propotion valve:
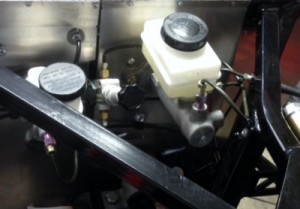
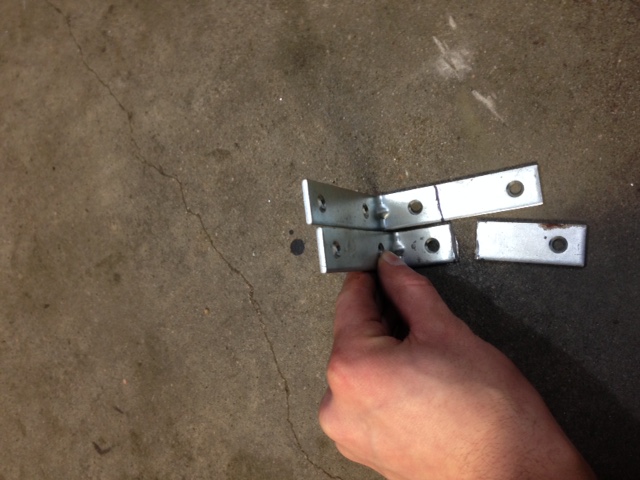
- I used a simple L bracket from ACE and cut it down accordingly.
- How I routed my clutch line:
- Bought a few things from Jegs:
- 20in straight to 90deg -3An line.
- -3an 10mm bonjo fitting to the slave cylinder
- -3an to 3/8″-24 converter

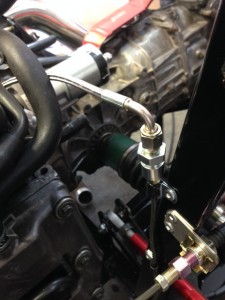
- As you can see the line runs along the rear and will not get in the way of anything. make sure not to run the SS line by the starter or you might have some fireworks.
- Bought a few things from Jegs:
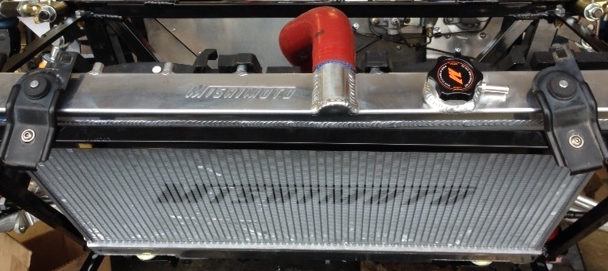
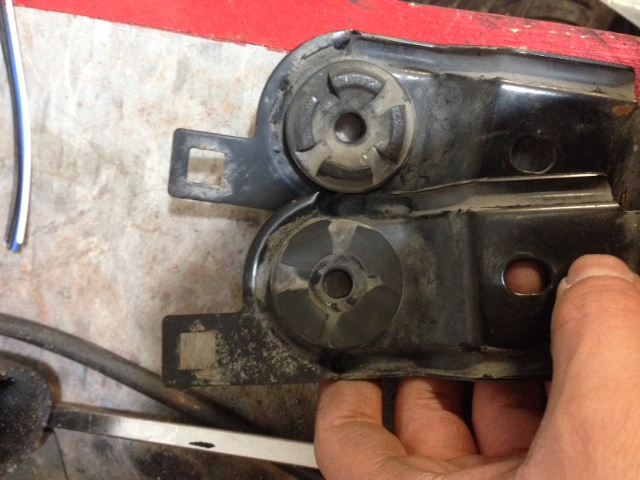
- Front End installed
- Fitment was a little off on this one. I found that the mounting tabs where off a bit. I had to grind down the sides of the tabs on the radiator/front frame a little bit so that it woudl slide into place. This may be a one off issue but if not you might have to do the same.
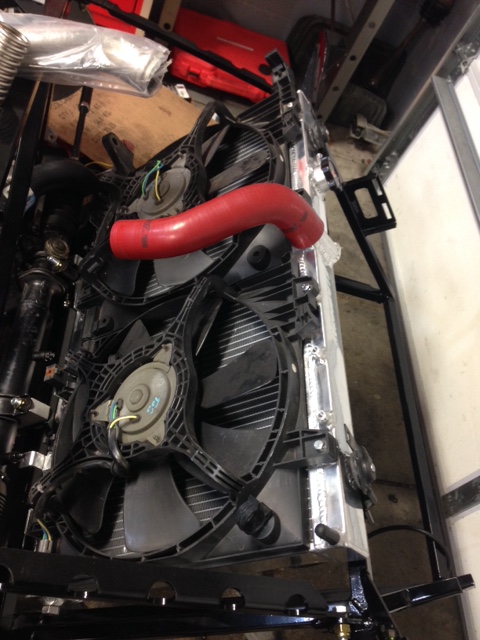
- Radiator was installed I used a Mishimoto radiator fitment was good. To help fit the top brackets properly I grinded down the rubber pads on the brackets to help fit the mounts properly.
- Fitment was a little off on this one. I found that the mounting tabs where off a bit. I had to grind down the sides of the tabs on the radiator/front frame a little bit so that it woudl slide into place. This may be a one off issue but if not you might have to do the same.
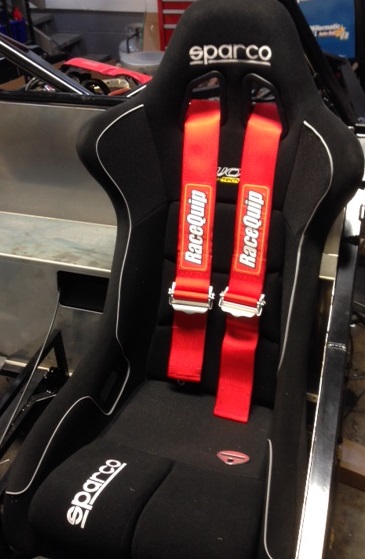
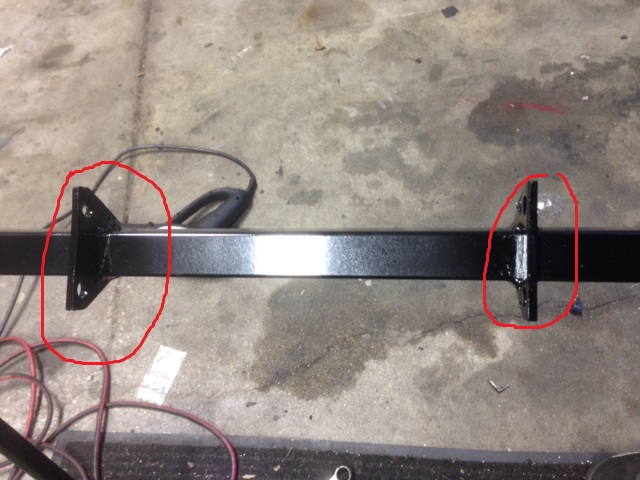
- Harness bar
- I ended up having to throw out the FFR harness bar. I cut the bar according to the instructions so that it would fit the FFR/OEM mounting holes. After realizing that the bar sat to high the damage was done and the bar just didn’t provide enough thread to be satisfied on my new mounting holes. I upgraded to a 1.25in harness bar since I needed a new one. Bigger bar should provide a little bit more surface area for the belts as well. The FFR bar seems a little bit small. If you plan to lower your harness bar do not cut it!
- New mounting holes are much lower now and the harness bar now sets the seat belt a a perfect 0 to negative 5 deg angle.
- Accelerator pedal
- I ended up mounting the medal straight into the front aluminum panel. I my install a brace for the panel eventually however currently I see no need. If you have a heavy foot though it may be worth it!
- For some reason my throttle cable came without the throttle body end cylinder installed. I thought about calling FFR about it however after thinking about it I found that it was better to have it off this way I could install the cable properly as well as shorten the extra slack on the cable so the throttle would open fully and have no slack in the cable.
- I Broke the plastic stopper that went into the accelerator pedal when I tried to install it. I have read a few posts where people have broken it just while driving. To fix this problem I used a normal push in plastic tab normally used to mounting body parts like mudflaps etc as the guide. Then I put a nut between the ball and the pedal. This provides a nice strong hold that wont get warn out.
- For the throttle body end I found some DIY cable links at autozone. The kit comes with a few different sizes for different linkage size. All you need to do is feed your cable through the hole cut the extra cable off and use the provided screw to hold the line in place. If your extra paranoid like me just throw some solder on the end of the wire to help hold it in place. The screw should be more then enough though. Set to how you like it I set mine with zero slack so pedal has no play in it. INSTANT POWER!!!!
- I Broke the plastic stopper that went into the accelerator pedal when I tried to install it. I have read a few posts where people have broken it just while driving. To fix this problem I used a normal push in plastic tab normally used to mounting body parts like mudflaps etc as the guide. Then I put a nut between the ball and the pedal. This provides a nice strong hold that wont get warn out.


 \
\