Rear suspension
Notes on the rear suspension:
Shocks:
- Installation of the rear shocks were a lot easier compared to the front, however much like the front there is an easier way to make sure everything fits and installs easy.. Use this guide along with the FFR guide as shims must be installed according to the FFR standards.
- Loosely install hub brackets onto the hub
- Install hub onto Lower lateral links/trailing arms. (See section below with how my install went)
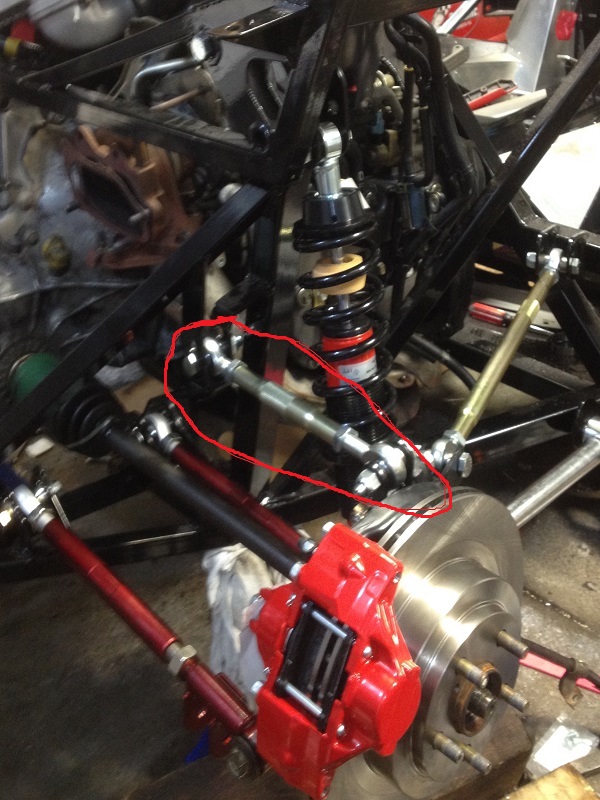
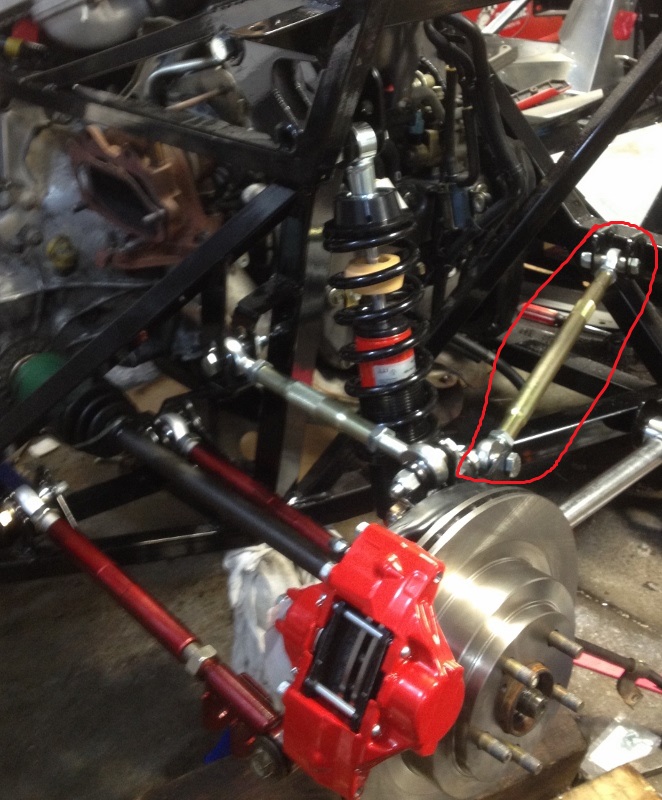
- Loosely install your top lateral link (small FFR link ) install the frame side then hub side.
- Now install the shock frame side 1st then slide it into the hub mount.
- Install long side lateral link to frame side then to hub side.
- Now that everything is all installed now tighten down everything. Installing everything nice and loose then tightening solved all my problems with shim fitment etc..
- Loosely install hub brackets onto the hub


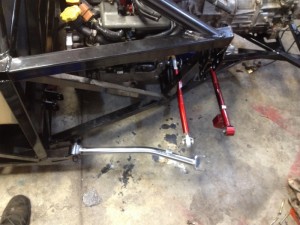
Lower Lateral links/Trailing arms:
- I had a set of OEM links and arms however they were rusted. New aftermarket adjustable links seemed worth trying out.
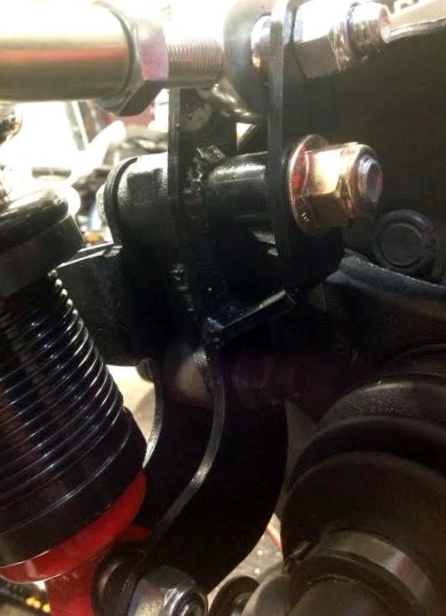
- Aftermarket links do not fit directly!!!! You will need at least a bench grinder!!!!
- Okay with that said, both the trailing arms and lateral links required me to grind down their mounting points. You will want to grind the chassis side shims. Not sure if FF chassis is just a bit tighter or the after markets just are too large. I used Godspeed links and TCS trailing arms.

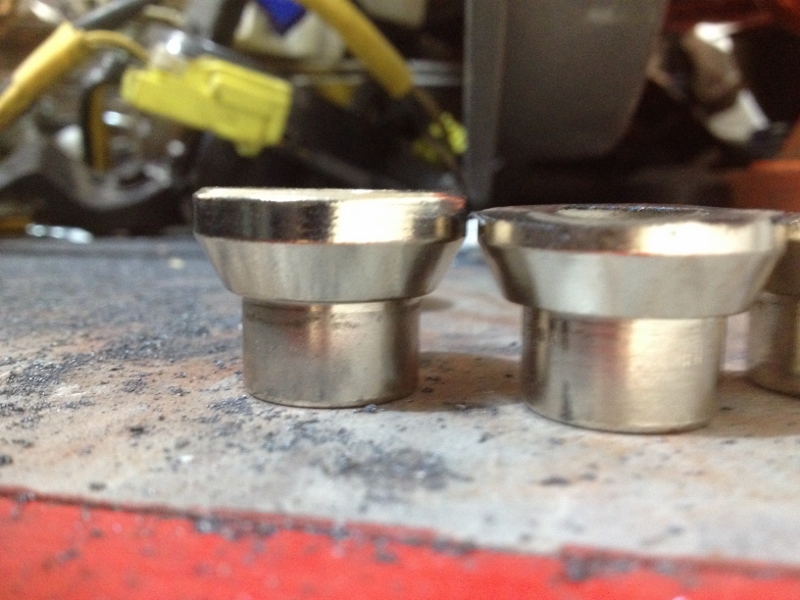
- As you can see a decent amount had to come off to fit, I had to grind off this much on all 12 cups.
- Grind each one evenly. Only do two at a time, and test them in each mounting point. Grind as you go it’s a bit time consuming, but this allows the best fit.
- Okay with that said, both the trailing arms and lateral links required me to grind down their mounting points. You will want to grind the chassis side shims. Not sure if FF chassis is just a bit tighter or the after markets just are too large. I used Godspeed links and TCS trailing arms.
Other side notes:
- It’s worth it to press in new wheel bearing now if you don’t know the age of them.